1.So let’s get started and kick off the launch of this new blog with an information packed tutorial - understanding and using Photoshop brushes.This blog post will be in 2 parts starting with these NINE top tips .........

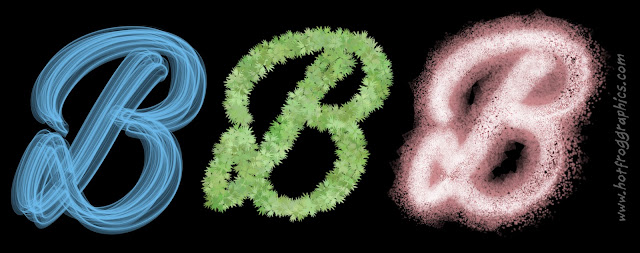
Photoshop is one of the cornerstones of digital art, so ubiquitous, there can be few illustrators who've not experienced the software at some stage in their career. Here’s the first of two blog posts on customising brushes in Photoshop to create unique textures. Anyone who has used Photoshop will know that it boasts some great illustration tools. Its basic set of brush tools allows you to airbrush very convincingly and if you care to dig a little deeper, you'll find the natural (and unnatural) media brushes that are provided in the package. With perseverance you can learn how to customise these tools and create your very own, resulting in virtually unlimited possibilities - such as the ability to paint with grass, cloak a creature in fur, paint foliage on a tree, airbrush wisps of smoke, snakeskin, glitter, barbed wire, etc etc.
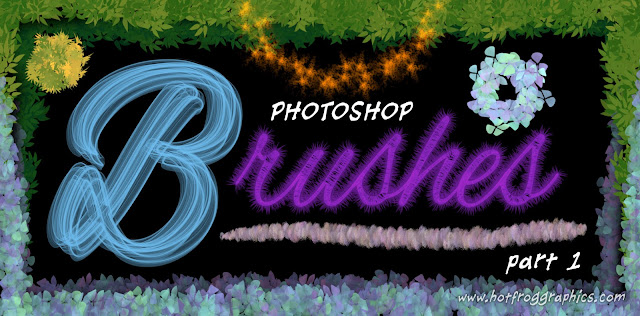
Take a look at the illustration that heads this article. Click to enlarge. Every mark you see on there has been created using a customised brush. I'm going to show you how to achieve this and I'll also give you the settings for some of those brushes so that you can try them for yourselves.

First let's check out the most basic of brushes and get a grasp of their functionality. There are hard edged and soft edged brushes, and a variety in between. Typically, pencils are hard edged with no anti aliasing ie. no soft edges. I find it useful to view my onscreen brush tip as 'normal size' or 'full size'. Then, as you're working, you see a ring indicating roughly the size of the tip you're dealing with. Much clearer than the standard cross-hair cursor. To do this, go to Photoshop preferences and choose 'Display and Cursors'.It's also useful at this stage to appreciate how important it is to use a graphics tablet and stylus such as Wacom, in order to master the natural look of each brushstroke. It's understandable for newcomers to be a little cautious at first, but try signing your signature on screen using a mouse. Then with a stylus. There's no contest.


No comments:
Post a Comment