TIP - Rather than resort to expensive and difficult to master 3D programmes, I’ve instead been using various hair and fur brushes for a number of years now.
Here you can inspect a few of my characters that have benefitted from these particular brushes ...
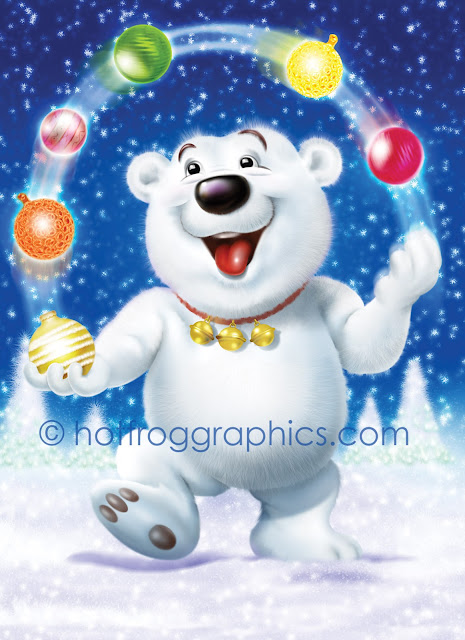
In this fun Polar Bear Christmas card design
the fur, the frosty trees, snow and the snowflakes all use custom Photoshop brushes.
Fellow illustrator Mike Brownlow includes various PS brushes amongst his array of illustration tools and techniques. He says,
“Brushes can be great when used judiciously, and are really useful. I just wish I could work out a better way of organising them.”
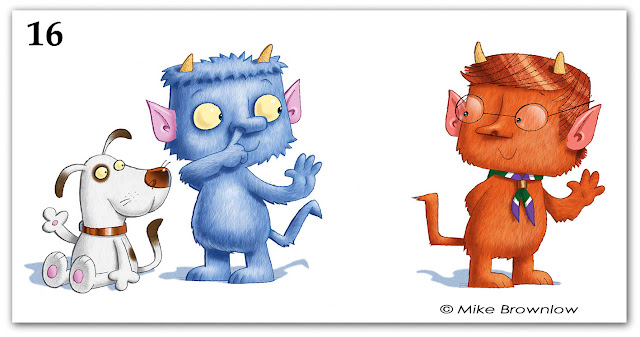
Here’s how Mike employs his subtle craft, carefully using fur brushes, and others, in his successful Boris the Troll books...
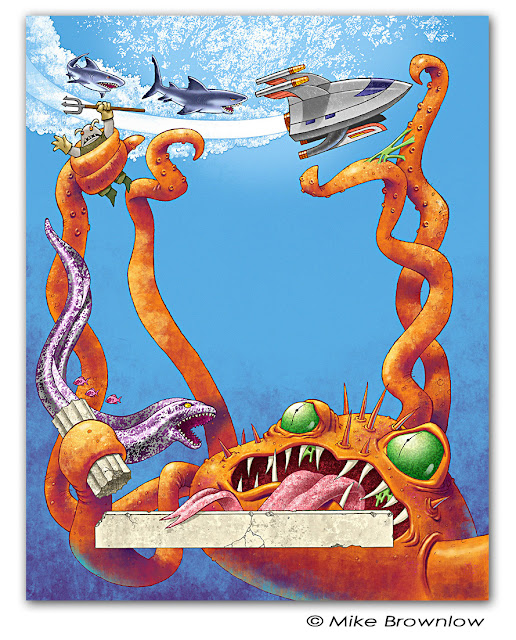
And here with some underwater and skin textures from his book Kraken Attack ...
FOLIAGE BRUSHES.
Obviously all the considerations and the various settings that I’ve mentioned so far in connection with fur and hair, can equally be applied to any other texture or effect that you’re after.
Obviously all the considerations and the various settings that I’ve mentioned so far in connection with fur and hair, can equally be applied to any other texture or effect that you’re after.
Without going into extra details here’s a collection of my own foliage brushes, (pic 17) the actual brush shapes are shown at the top along with the resulting effects.
And in this jungly/forest book illustration, (pic 18) you’ll see how I’ve made good use of a few of them.
Finally, let me show you how to create a really cool textured pastel/chalk brush.
(pic 20) In the vignetted oval we can see the actual brush shape, and below, the settings used to achieve these soft pastel-like marks.
TIP - The background is a scan of pencil on cartridge and the texture used in the brush settings aims to emulate this so that the colour sits on top of the cartridge, unless more pressure is used, and then the colour sinks into the texture.
And below, these soft, watercolour-like marks in pic 21 were made with the 3 brush tip shapes pictured at the top.
TIP - Your original brush shape needn’t be filled with 100% black, remarkable effects can result from faded softer brush shapes.
One final thought, having created a favourite brush, don’t limit yourself to ‘painting and drawing’ with it.
You can deploy your brand new brush as an eraser or even as the smudge tool for some further exciting and unexpected effects.
Have fun with your brush experimenting and be sure to bookmark this blog and check back for more pro Photoshop tips in future.
You can see more of my Photoshop illustration work at www.hotfroggraphics.com
and even contemplate buying a whole range of gifts featuring my designs on my HOT FROG ZAZZLE SHOP.


No comments:
Post a Comment